First I went to my local craft store and picked up this book: A Sketch book by Strathmore, and 8 1/2 x 5 1/2. The photo below shows one with 50 pages.. mine has 100. It was about $8 at Michaels. Use a coupon!
Before I started anything on the inside, I covered the front (and you can do the back, too) with cardstock. I used a quick drying glue from Scotch, as I didn't feel that glue sticks would hold it well enough.
Then I gave my little one some stickers, and let her decorate :) She basically put stickers all over the front (in no particular order) and the OCD in me was cringing, but hey, it's her book.. not mine! I did have to re-position some of them when I got the idea for the next step. Adding a ribbon closing and decoration.
I found this awesome princess ribbon on clearance for $1 at Michaels (Always check their clearance bins!), so I wanted to use a bit of it to 'finish' off the paper edge by the spiral binding. I took it a step further and added ribbon going across both the front and the back, and they can be tied into a bow to close. Here's what it looks like :
Back ribbon going across book (another one was added going up and down, to hide edge)
(left) Inside cover where up and down ribbon meet. (right) Finished cover with ribbon closing
Here's the book my teenage daughter did (sans ribbons)
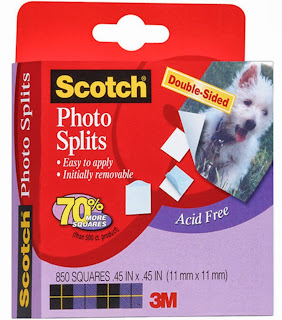
Once all of your glue and embelishments are completely dry, move to putting together the inside of your autograph book. I found some free graphics that a member of the Dis Boards made for autograph books (look for the Creative Community board), so I printed out all of the characters that we wanted ( and there were A LOT!). I cut them out, then used photo splits (also by Scotch - see below) to adhere the pictures into the book.
Sample graphics I printed out to put in book
I decided to attatch the autograph sections at the bottom of the page, so that after returning from our trip, I could add photos of meeting each character on the top:
My older girls really got into decorating their books. Here are some page examples:
Happy Character Hunting!


No comments:
Post a Comment